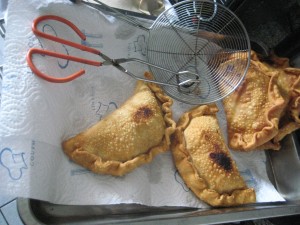
Fried food is something that I just don’t eat much of in California, but here in chile it is a regular part of my diet… Acknowledgement is the first step to recovery.
Two of the most popular fried foods in chile are empanadas and sopaipillas. Sopapillas are fried dough rounds that sometimes include a little bit of pureed zapallo (Chilean winter squash) in the batter. They are often eaten with mustard and/or hot nescafe. When my host mother goes to the effort of making dough and getting her wok of oil set up, she usually makes a lot of dough which she then forms into both sopapillas and empanadas. Empanadas were covered in my earlier post but this week I also learned how to make and form the dough for the empanada skin. Below is the dough recipe along with a list of typical empanada fillings.
The Dough:
This dough recipe will make 16 large empanadas (the size of the empanadas shown in the “traditional empanadas post”). Alternatively you can make more smaller empanadas or fewer with sopapillas. This is a lot of food but sopapillas can easily be reheated in the toaster and empanadas reheat well in the oven or microwave. Or if you really don’t want to eat that many, the recipe is flexible and can easily be halved.
Ingredients:
1 kg white four without baking powder
1/2 tbsp salt
3 tbsp vegetable shortening, melted (6 tbsp for baked empanadas)
1 – 1 1/2 cups of hot water
Directions:
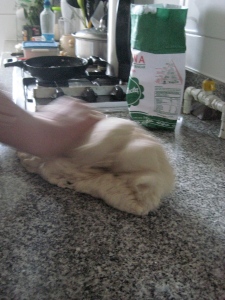
In a large bowl, mix salt and flour. Make a well in the flour mixture for shortening. Add boiling water in small increments, stirring in between each addition. When you can no longer stir with a spoon, resort to your hands. The dough should be the same consistency as bread dough. Knead vigorously on a floured surface until smooth and elastic.
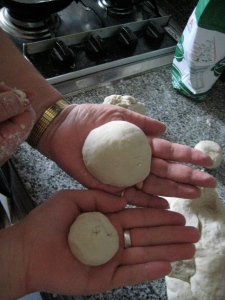
When the dough has been well needed, divided it into the same number of small balls as you would like empanadas. Below is a picture demonstrating the approximate size of the balls. The smaller ball is for the cheese empanadas which we made with this dough. The larger ball is the size for the larger empanadas we made a few weeks ago.
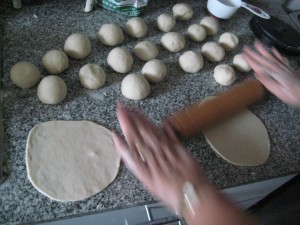
For Empanadas: Using a rolling pin, flatten the balls into thin disks about 1/4 inch thick. If well floured, these disks can be stored in a plastic bag in the refrigerator for a few days prior to shaping and cooking the empanadas.If stored, the dough will dry out a little bit and you will need to use water to remoisten the edges when sealing the empanadas (see older post). If used immediately no water is needed and you can proceed with the following instructions.
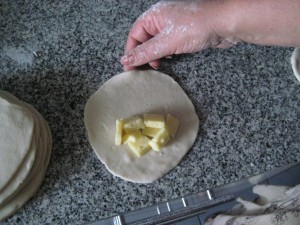
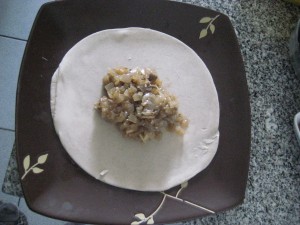
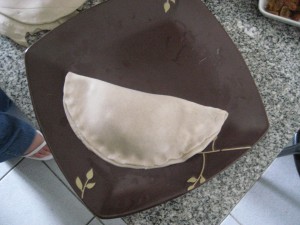
Create a small mound of filling in the center of the dough disk. Here we are using Queso de Manteca (a yellow/white cheese with a consistency like mozarella but with holes like swiss). My host mom says that she prefers Gouda cheese.
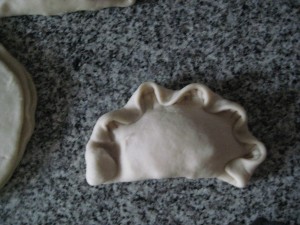
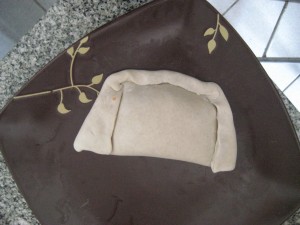
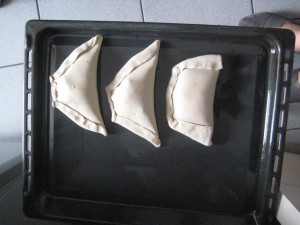
Fold the dough in half over the filling and use a fork or your fingers to mash the edges together.
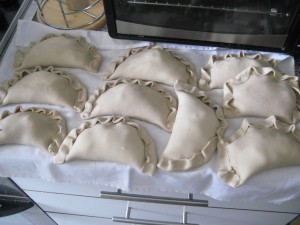
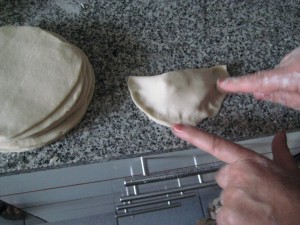 Fold up the edges in a ruffle pattern.
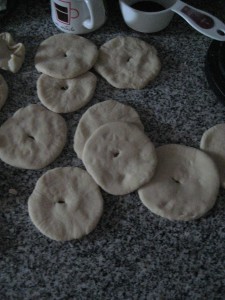
For Sopapillas: Pat the balls into flat disks slightly thicker than the empanada skins. Using your fingernail create a small hole in the center of the disk (I have seen lots of sopapillas without the center hole, but this is my host mother’s method).
Cooking:
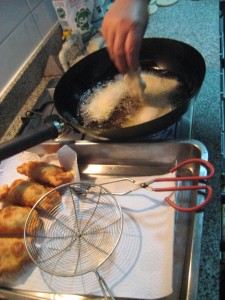
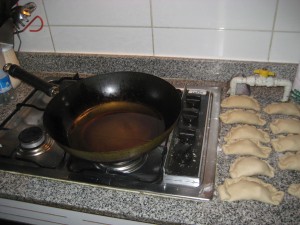
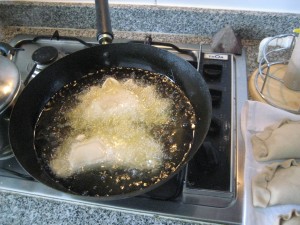
Fill a wok with 4-5 inches of oil and heat over a high flame. Test the temperature of oil by tossing in a tiny piece of dough- if it sizzles and cooks quickly, the oil is ready.
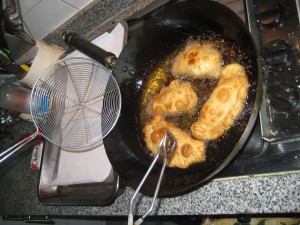
Lower the flame and gently place the empanadas and sopapillas in the wok. In this wok there was room for about 4 empanadas and 1 sopapilla at a time. Cook until the skin is golden brown, flipping once midway through.
Allow to cool in a paper towel lined pan until ready to eat.
Serve with mustard, katsup, hotsauce, or Aji (Chilean peppers).
Alternative Fillings:
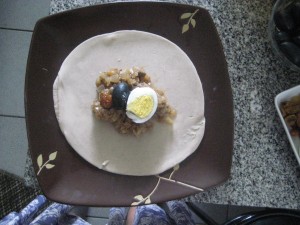
- Traditional: beef, onions, hard boiled egg, raisin, and black olive
- Caprese: cheese, tomato, and basil
- Ham and cheese
- Cheese and Spinach
- Ham and Spinach
- Cheese and mushroom
- Cheese and Zucchini
